Below are the steps to create a VoiceThread.
VoiceThread is available in your Blackboard Courses under the Tools menu. Creating and enabling a VoiceThread link will automatically create a VoiceThread account for you.
Follow these steps to Create a VoiceThread activity:
1. Navigate to your Blackboard course and open the course.
2. Locate the VoiceThread tool.
A. In any content folder, click on Build Content
B. Click on VoiceThread.

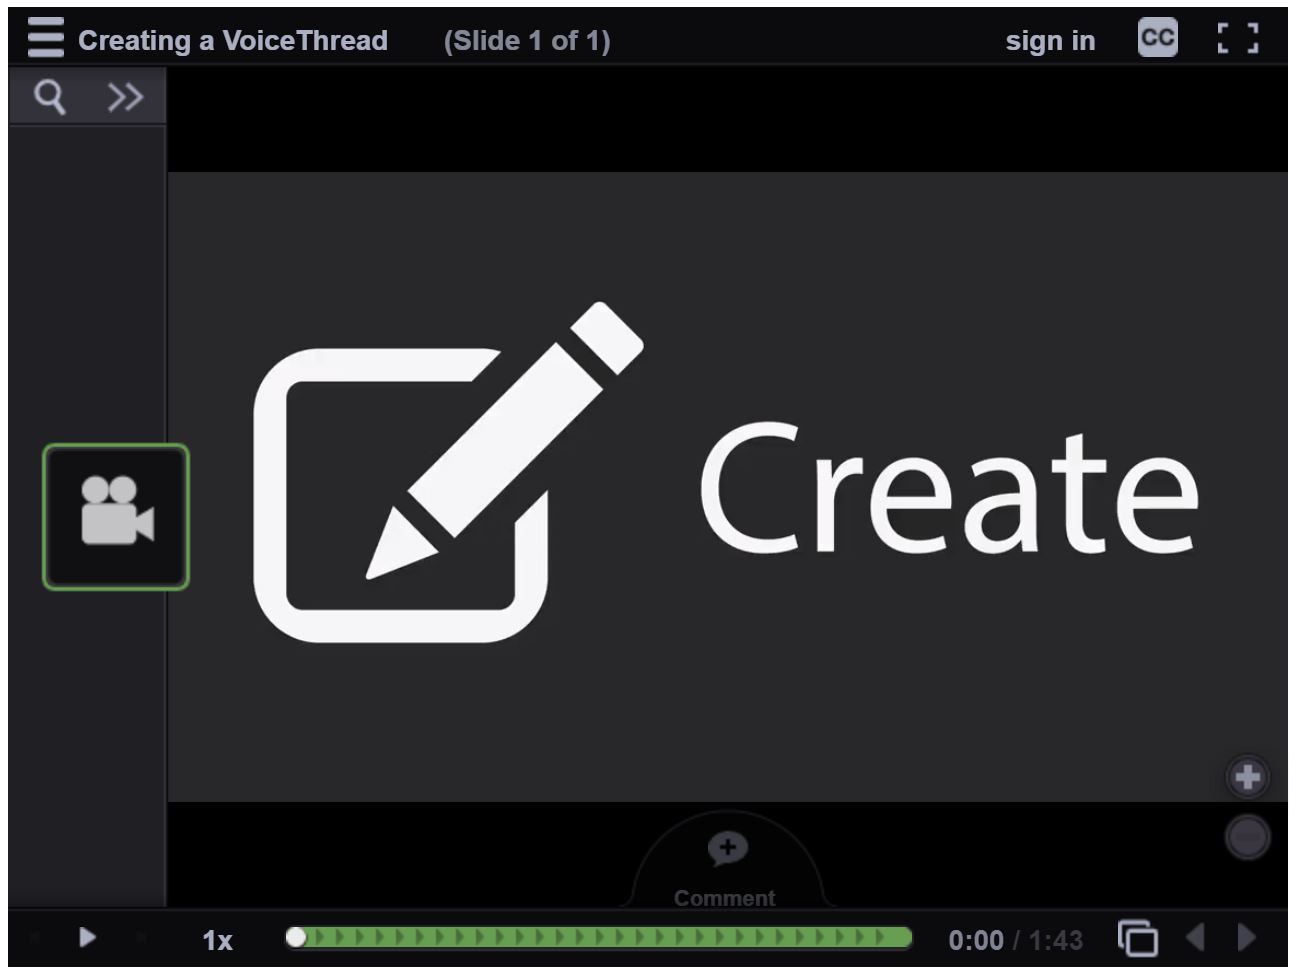
3. This will lead you to the VoiceThread setup page. Choose what kind of activity you'd like your students to connect to:
A. Course View: Display the collection of VoiceThreads that have been shared with your course. Anything that has not yet been explicitly shared with your course will not appear here. This is a good option when you want students to find and comment on each other’s work or if you want to allow students to review all course materials prior to an exam.
B. Individual VoiceThread: Display any VoiceThread that you have created. When students click on the link, they’ll see just this one VoiceThread. This option is the best way to create an ungraded VoiceThread discussion board or lecture. Students will not need to look through a collection of VoiceThreads to find the correct one; they will be taken straight to it.
C. VT Home Page: Display all of a student’s VoiceThread content in a single view. This includes all VoiceThreads and all courses that belong to them. This option is useful if you want to create a simple portal into VoiceThread without directing students to any specific content.
D. Assignment Builder: Creates a VoiceThread assignment. For more information about VoiceThread assignments, see How do I create a VoiceThread graded assignment.

Note: this KB article will denote how to use the Individual VT.

4. Attach VoiceThread
If you have already created a VoiceThread, select it from the list. If you need to create a new VoiceThread, follow the instructions below.
A. Click Create new VoiceThread.
B. Users can upload media files, such as PDFs, PowerPoint presentations, images, video files, audio files, and more. VoiceThread allows you to mix media so a VoiceThread could be two PowerPoint slides, 4 images, a video, and a PDF, for example. Click Add Media or drag and drop the file.
C. The Thread Settings popup menu will appear. Configure the thread settings to control how students will interact with the VoiceThread, and click Save.

6. Add comments to media. Once you have your media curated, you simply add your own comments in voice (using your computer’s microphone), video (using your computer’s webcam), or text (using the keyboard on your computer).
A. On the Edit VoiceThread page, click Comment.
B. Hover over the video, and a control panel will pop up. Click on Comment. Click on the desired comment type, and move the playhead to the part of the video where you want the comment to appear. For a text comment, type the comment and click Save.
C. To draw on the media when making audio and video comments, click on the pencil, select a color, and draw on the screen using your mouse. Click Stop Recording when you are done.
D. When finished making comments, click on the X in the top right hand corner of the screen.

7. Share with Class
A. Click on Share with Class in the breadcrumb menu.

B. Click on the Share with Class button again, which will connect the VoiceThread link to Blackboard.

For more information, see the Creating a new VoiceThread quick guide video:
To interact with your VoiceThread, students can then click on the VoiceThread link and contribute to a VoiceThread in the following ways:
VoiceThread provides a comfortable discussion environment for students and allows them to craft their communication before contributing. It also allows students to practice and showcase presentation skills or other skills that wouldn’t readily be apparent in a text-based discussion board.
Audio and video recordings help capture the nuances of speech such as inflection and tone of voice enabling clear communication. Video also captures facial expressions, which can help with interpretation and building relationships. Audio and video are helpful when providing feedback or evaluating comprehension so students don’t misinterpret meaning or tone.