Body
Echo360 Universal Capture allows instructors to easily record lectures remotely on their own laptop, and make them available to their students through Blackboard. The system will capture all audio and video sources including the presenter and anything on the laptop screen. Echo360 can also be used to live stream classes for remote students. For more information see: How can I live stream using Echo360?
1. Before you can access UIC’s Echo360 page, you will need to request access by filling out the lecture capture request form, by clicking the Request Echo360 Lecture Capture button located on: Echo360 - Note: You must log in using your netID and password.
You will receive an email support ticket confirming your request. Once the request is full-filled, your course section will be created on the Echo360 system.
2. To give students access to the section you must create a link to it in Blackboard. Students will be able to watch the capture recordings as well as view your slides, if you choose to upload them. Consult this guide to learn that process: Record your Lectures with Echo360 Quick Guide.
3. To install Echo 360 Universal Capture: Personal, download the application from https://echo360.org/downloads. Use your UIC email; you will be prompted with the UIC login screen, then you will need to follow the instructions to install the application. Installation Instructions.
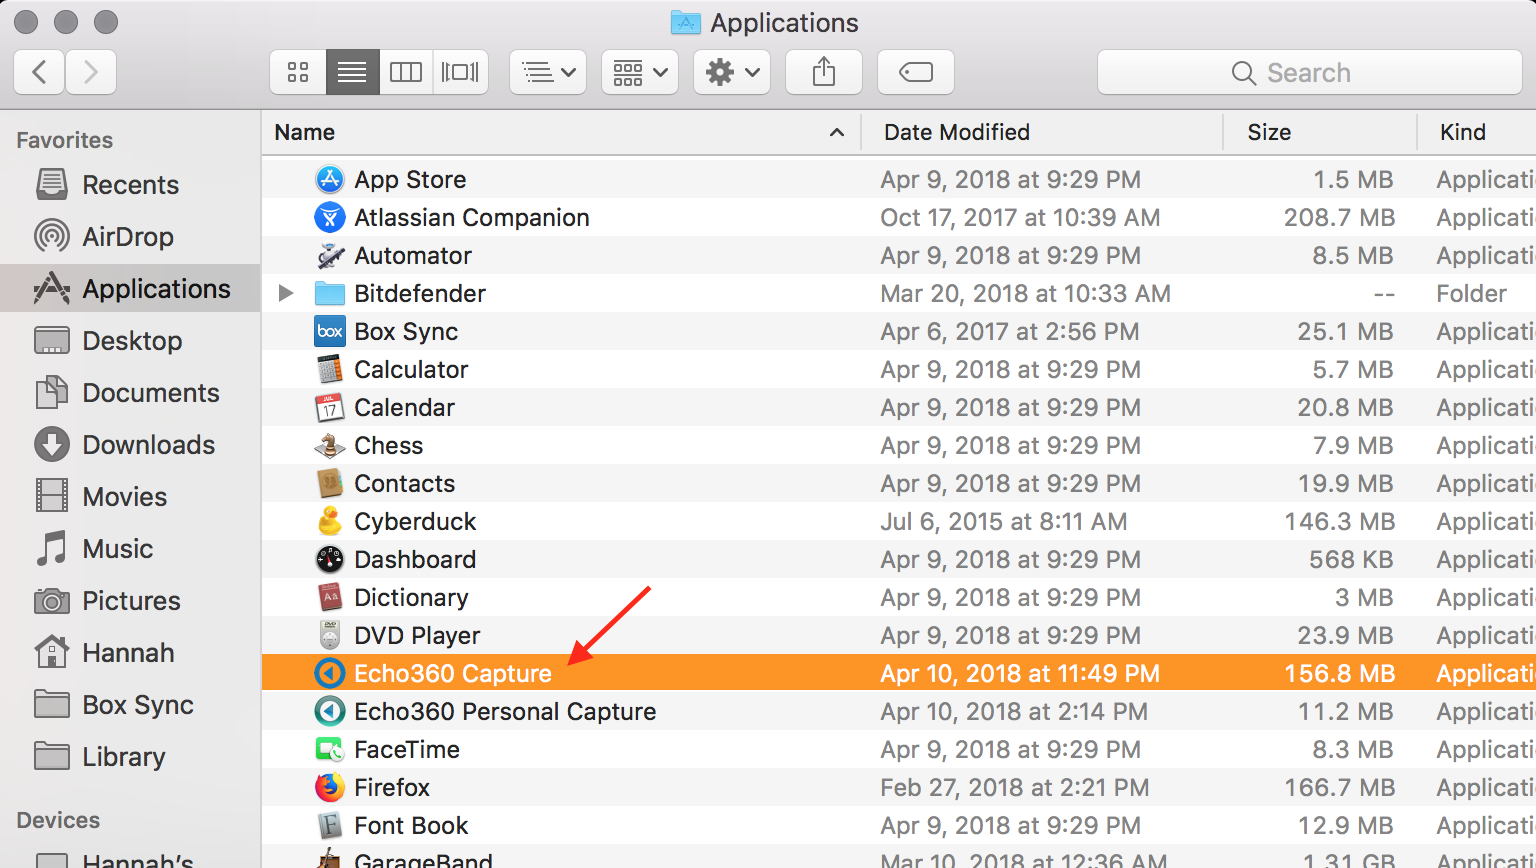
Note:Universal Capture: Personal is only accessible through the installed desktop application using a shortcut on PC or via the Applications menu on a Mac, as shown in the below figure.

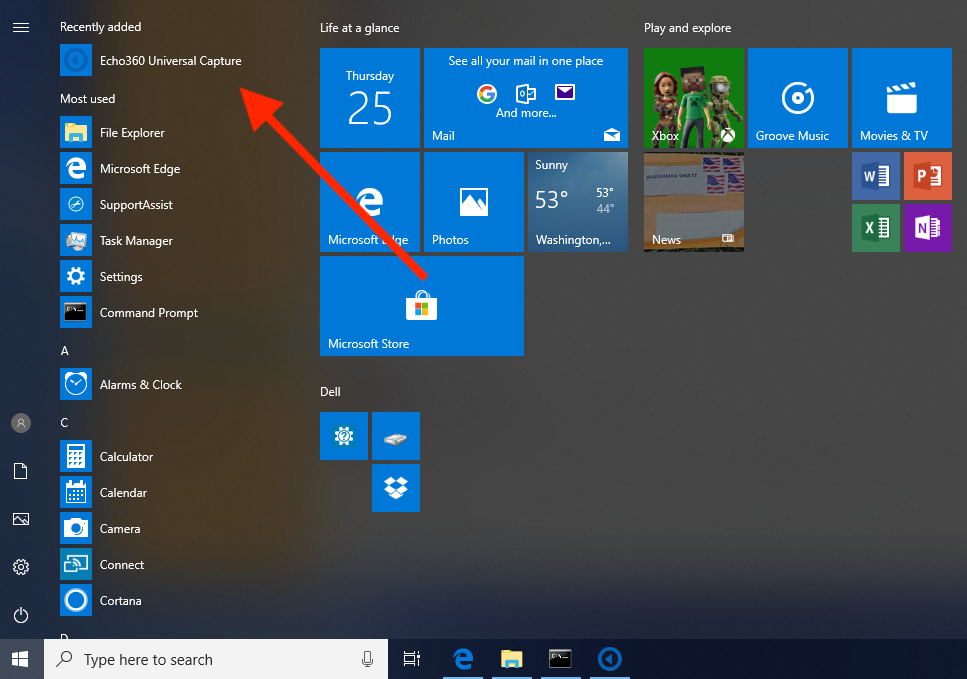
or Via the Start menu on a Windows PC, as shown in the below figure.
.
4. To Start a Capture
A. Log in to Universal Capture (UC), if not previously authenticated, using the same Echo360 login process used above.
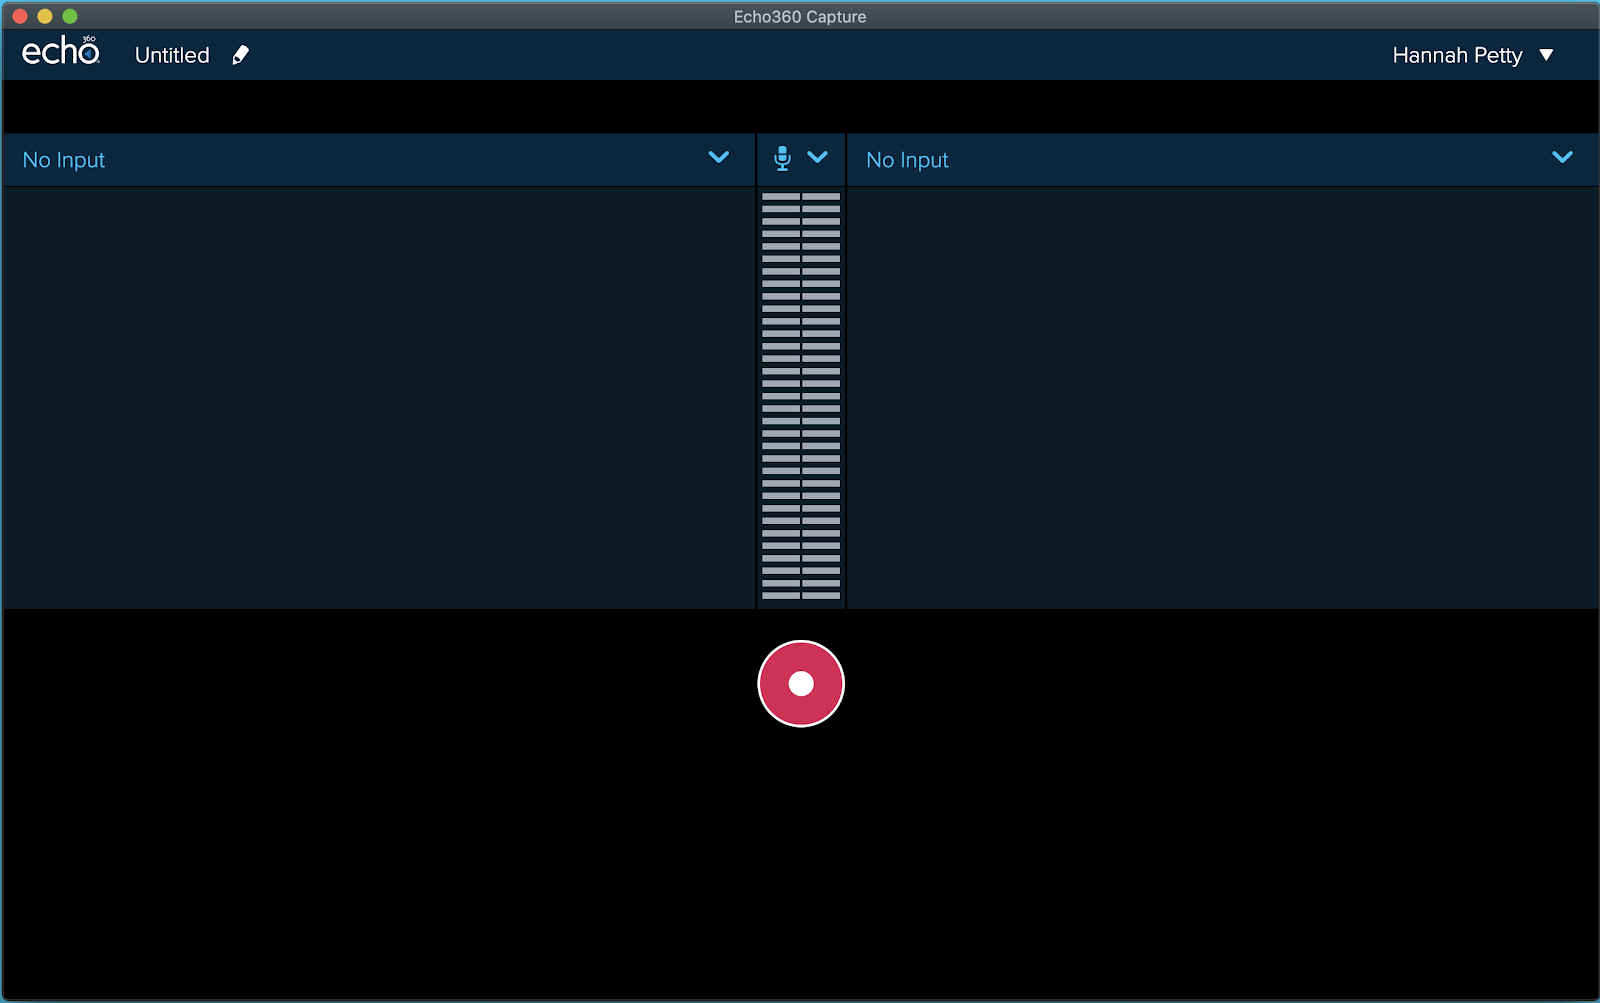
B. To start a capture select to capture display and video, two display inputs, or two video inputs besides the audio. Universal Capture will initially preselect inputs for you based on any available devices and then remember the last inputs chosen. Select your laptop camera, microphone and secondary screen as appropriate.
C. Preview the inputs on the screen, to be sure they will record properly.

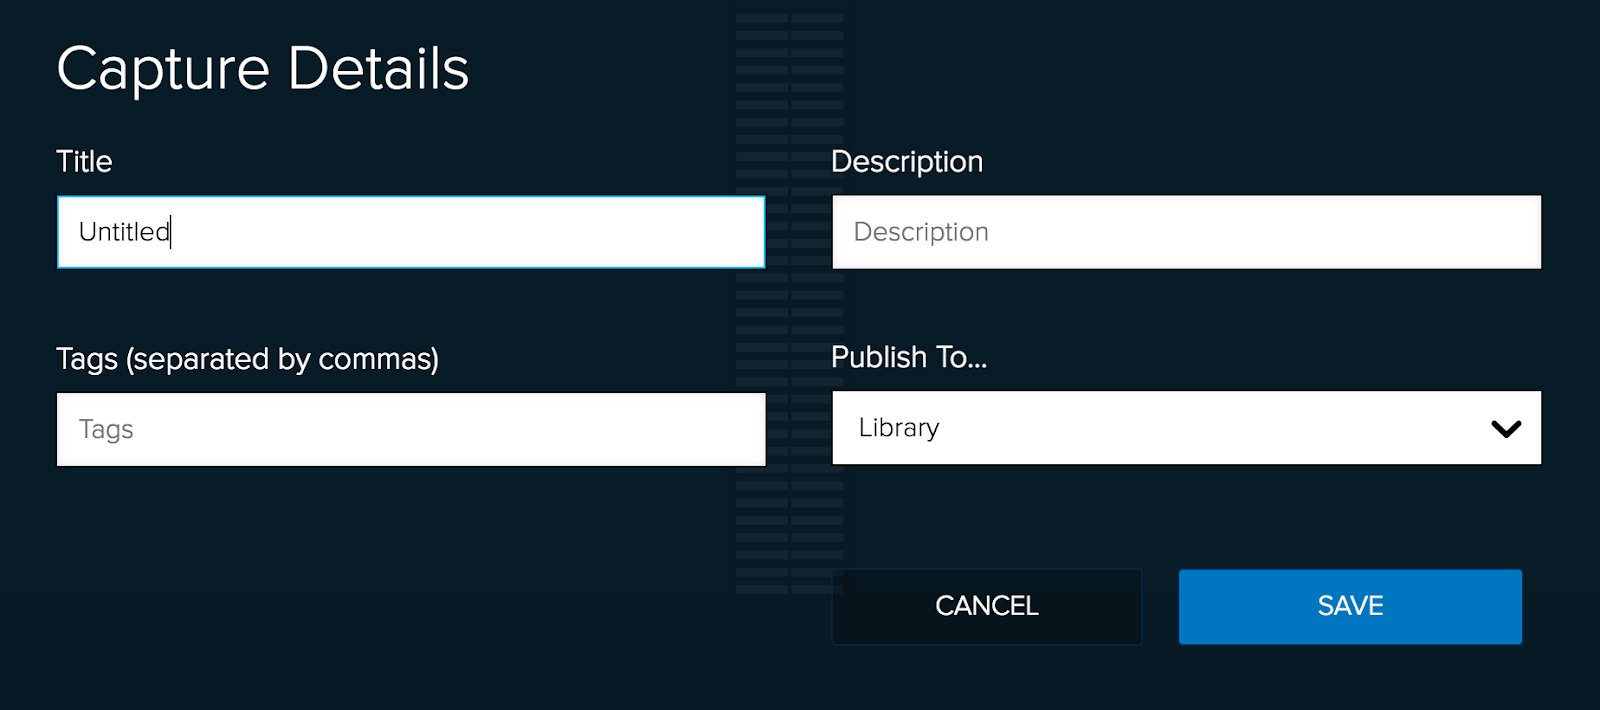
D. Click the pencil icon or title to launch the Capture Details dialog box.
E. Enter a Title, add a Description or Tags and select a Publishing location for the recording if desired. (Pick your Echo360 course section) Universal Capture automatically creates a new class in the course/section you select to hold the capture. Meaning you may need to
edit the class details after the capture is published.
Otherwise, the default information below will be used, and the capture will be published to your library.

5. Click Record, A countdown appears after which the Universal Capture window minimizes and the capture begins.
6. When you are done, click Finish.
The recording is completed and finishes uploading to the Echo360 server to complete processing. You will receive an email notification when processing is finished. Universal Capture recordings are available for viewing and editing while processing.
Echo360 Universal Capture: Personal in Detail